This guide will walk you through the process of adjusting the Apache Timeout directive via WHM.
Overview
Learn how to change the Apache Timeout directive through WHM.
Simply follow these steps:
- Log in to WHM with your root user credentials.
2. Go to Home » Service Configuration » Apache Configuration » Global Configuration.
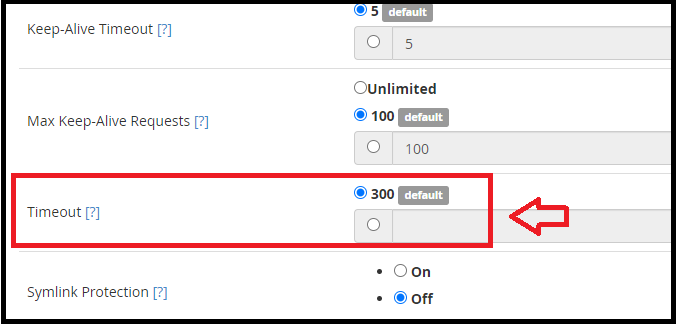
3. Locate the “Timeout” directive.
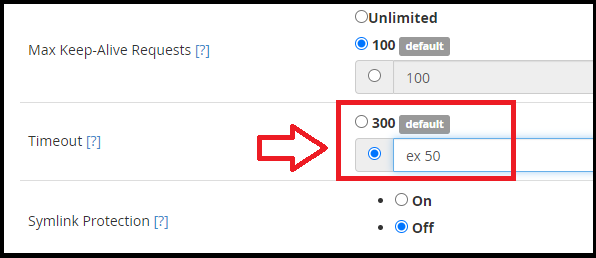
4. Input your preferred value.
5. Save your changes by clicking the blue Save button.
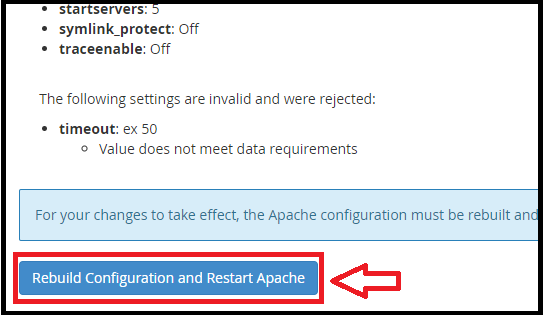
6. Rebuild the configuration and restart Apache by clicking the corresponding button.
By now, you should have a clear understanding of configuring the Apache Timeout directive through WHM. If you encounter any issues with the provided steps, feel free to contact the host.co.in Team for 24×7 proactive support.