
In this article, You will learn how to use ImunifyAV in Plesk to scan Domains. There are 3 versions of ImmunifyAV: free, premium, and shared hosting. In free mode, it analyses website content and finds malware. In paid mode, it can also remove any malware that has been found.
Follow these steps to scan domains using ImunifyAV
1. Log into your “Plesk”
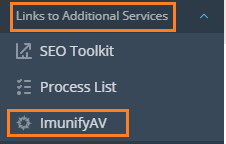
2. Now, Search for the “Links to Additional Services” and Click on the “ImunifyAV”
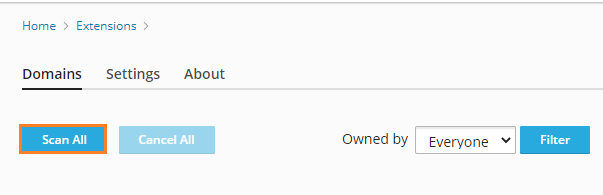
3. Once the “ImunifyAV” page is open, you can select the “Scan All” option.
4. Find the “Actions” column and click the green colored arrow button to scan a single domain.

5. Scannng will start. It displays a percentage next to the word “Progress.”

6. By using the “Cancel” option, you can stop the scan at any time.

7. When you select “Select All,” take a look at the picture. When someone starts scanning, everyone else is “Queued.”
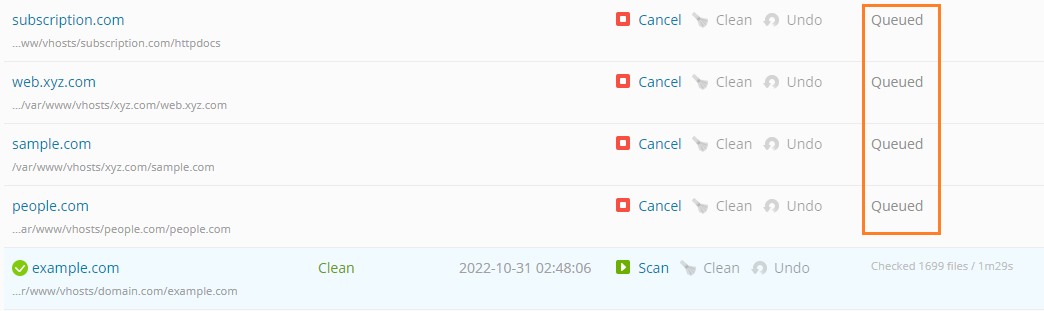
8. All domains are scanned one by one. You can see the scan’s “Clean” status in the “State” column.

We hope that you now have a good understanding of How to Scan Domains using ImunifyAV. If you continue to have problems with the protocol outlined above, please contact the Team. Also, check out the latest Imunify360 Plans.