SSL certificates enable SSL/TLS encryption. They also include the identity of your website and its public key, along with any information pertaining to your site. To install an SSL certificate on cPanel (Paper-lantern theme modern), follow these steps. In the case of multiple devices and servers, you need SSL installation on every device and server you wish to keep safe. Refer to our CSR Generation Guidance and skip the steps below if you haven’t yet produced your certificate and completed the validation process.
Here’s all you will need
Step 1: Your server certificate
CA issues this certificate for your domain. You might receive this through email. Alternatively, you can also go to your Account Dashboard and download it from there by selecting your order.
Step 2: Your intermediate certificates
These files help detect the issuing CA for the devices that connect your server. There can be multiple certificates. If your certificate has arrived in a Zip folder, it might also include the CA bundle which comprises of the Intermediate certificates. In case you didn’t recurved it, you can easily download the certificates of your CA bundle.
Step 3: Your private key
In case you use a free generator tool to generate your CSR, you need to ensure your file is on your server, or with you. The private key might not be visible to you on platforms such as Microsoft IIS, but rest assured that the server is tracking it nonetheless.
Installation Instructions
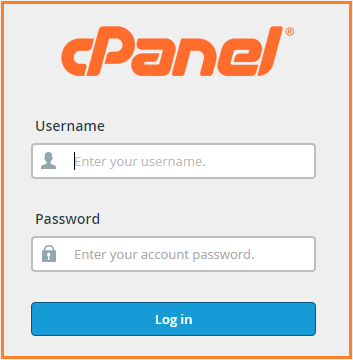
Step 1: Sign in to your cPanel Account
To begin with, sign in to your cPanel account. You can do this through https://domain.com:2083
Once you reach the login page of your cPanel account, insert your username and password and then select login.
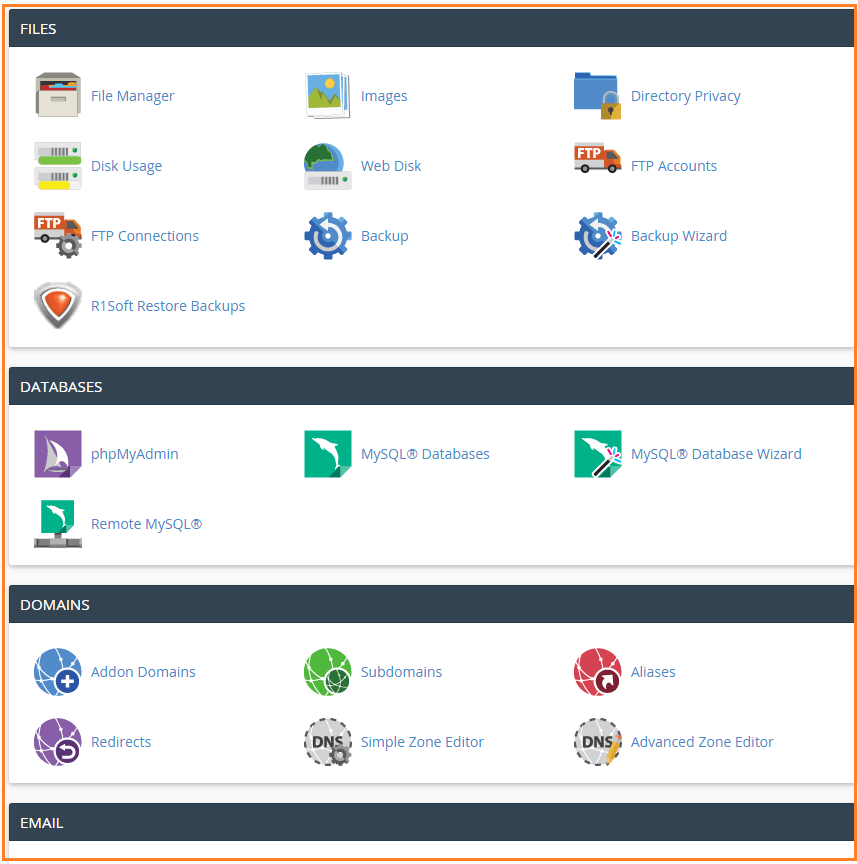
Your cPanel Homepage should be identical to this:
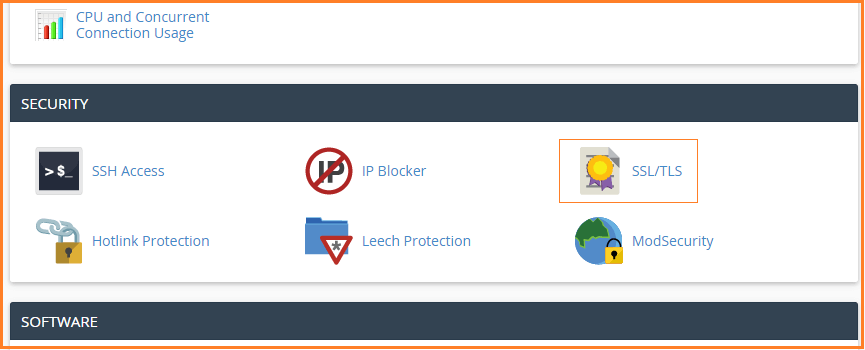
Step 2: Navigate to the SSL/TLS Manager
You can go down to the Security section to access your SSL/TLS Manager page. Then click on the SSL/TLS button.
Step 3: Select “Manage SSL sites”
To manage all the SSL/TLS configuration for cPanel, you can use the SSL/TLS page. You can find the “Manage SSL Sites” hyperlink under “Install and Manage SSL for your site (HTTPS)” as seen below.

Step 4: Select your domain
You can assign a domain name to the domain drop-down that you find appropriate, on which you will install your SSL Certificate.

Step 5: Copy and paste your certificate files
Your individual certificate files need to be copy-pasted into the appropriate text box(s) when you select your domain. You can follow the example given below.
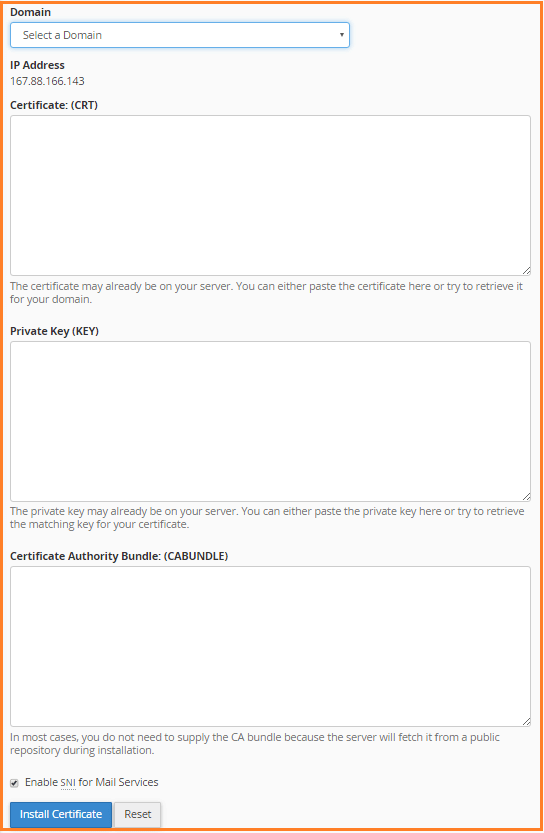
Certificate (CRT) – It is a server certificate been issued to the domain(s) you run.
Private Key (KEY) – The generation process includes creating your private key.
Certificate Authority Bundle (CABundle) – Your intermediate certificate assists your devices and browsers to recognize who issued your trusted certificate.
Step 6: Click “Install certificate”
Once you have filled the boxes with the correct certificate files, just select the “Install certificate” blue button.
Great. Your SSL certificate is now successfully installed! To verify your work, you can go to the website on your browser at https://yourdomain.tld. You can check if HTTPS/SSL is functioning properly by visiting certificate/site information. Keep in mind that for the changes to appear you might have to restart your server.
You can use an SSL Checker Tool to check in-depth the configuration of your server, or you can contact our customer service department to get more assistance.
Manual Intermediate Installation Instructions
In case the Intermediate certificates installation and configuration fails, even after following the instructions given above, you can give the directions below on how to install them directly into your Apache manually, a try. In case you cannot access your Apache server or do not have access, you can ask your system administrator or web host for assistance.
Step 1: Locate the virtual host file
You can usually access the Virtual Host File in the /etc/httpd/conf/httpd.conf file.
Step 2: View the Virtual Host File
Use the proper name and IP address to view the Virtual Host configuration.
Step 3: Edit the Virtual Host File
Given below is the bolded Your-IntermediateCertificate file that you can add to edit your virtual host configuration.
  <VirtualHost 192.168.255.255:443>
  DocumentRoot /var/www/html2
  ServerName www.yourdomain.com
  SSLEngine on
  SSLCertificateFile /path/to/your_domain_name.crt
  SSLCertificateKeyFile /path/to/your_private.key
  SSLCertificateChainFile  /path/to/YourIntermediateCertificate.crt
  </VirtualHost>
Step 4: Save the changes
Ensure that you save the changes you make to the configuration file.
Step 5: Add the intermediate certificate
To the same directory that cPanel has your private key and server certificate stored, you can include the intermediate certificate file.
Step 6: Restart your server
Reboot your Apache server
Voila! You can install an SSL/TLS Certificate In cPanel just that easily. Check out our SSL certificate plans if you need an SSL certificate for your website.