In this article, you will find how to set up Leech protection in cPanel.
Let us see how:
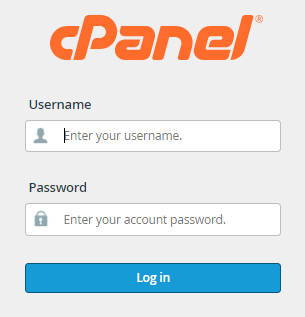
1) Go to your cPanel account and log in.
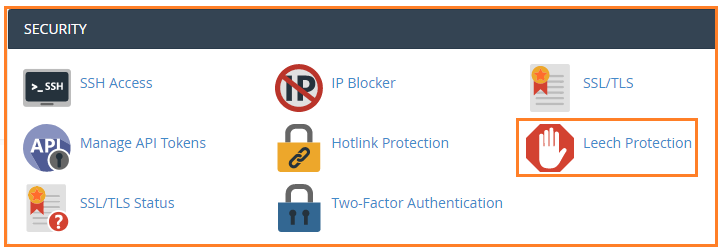
2) Scroll down to the Security section and click on Leech Protection.
3) When you click Leech Protection, a new box appears, asking you to choose a protected folder.
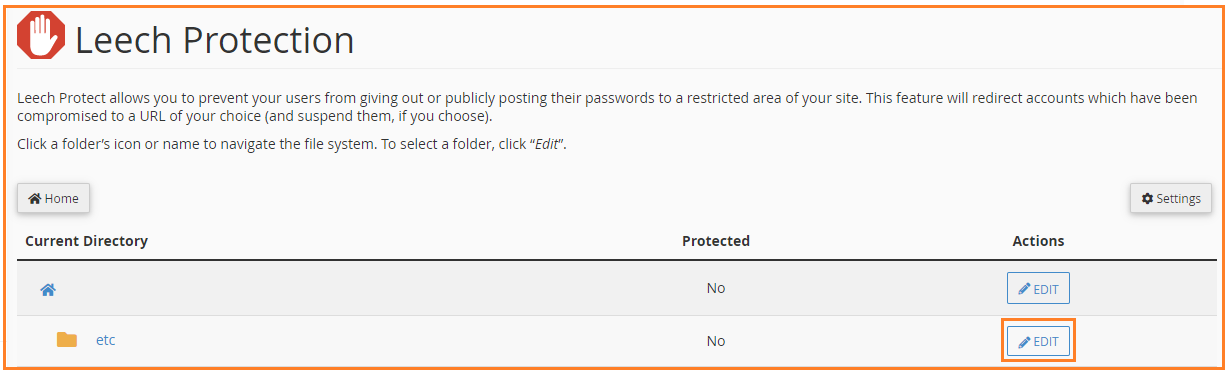
4) A new window comes when you select a directory in which you must establish the required permissions.
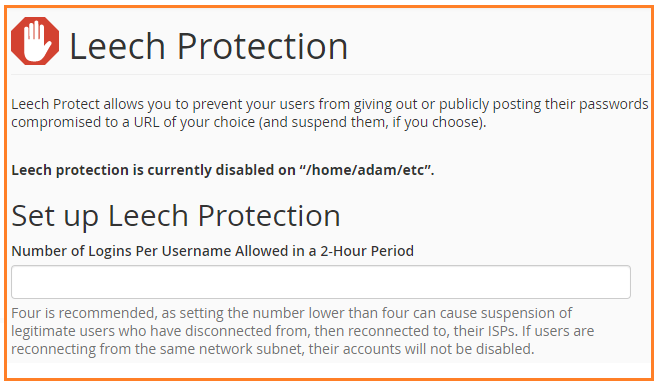
5) Under “Set up Leech Protection”, set the maximum number of logins per username allowed in two hours.
6) Enter a URL to which users who have exceeded the maximum number of logins in a two-hour period should be redirected.
7) Select the “Send Email Alert To” option and enter the email address in the text field to get an email alert when an account is compromised.
8) Check the “Disable Compromised Accounts” box to disable compromised accounts.
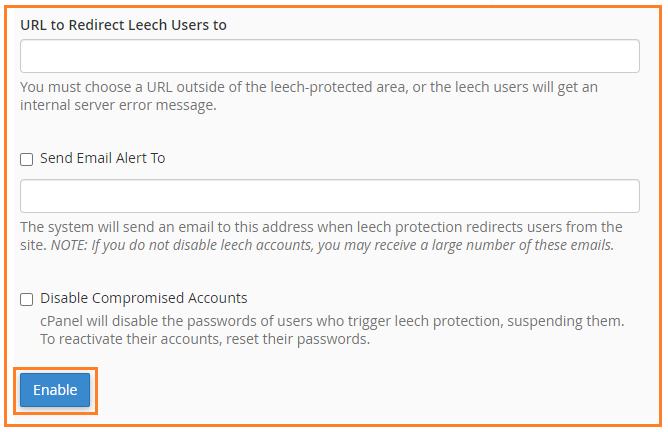
9) When you’re ready, select Enable.
We hope you now understand how to configure Leech protection in cPanel. If you continue to have issues with the above-mentioned procedure, please contact the Host.co.in Team for assistance. 7 days a week, 24 hours a day.