This post will show you how to manage your Web Disk using cPanel. A Web Disk account allows anyone to download, navigate, and upload data between their computer and the Web Server.
The steps to create a Web Disk account in cPanel are as continues to follow:
1) Kindly register in to your cPanel account.
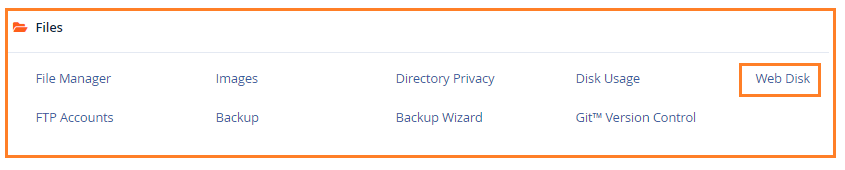
2) Just go to the Files section and then use the drop-down menu to choose Web Disk.
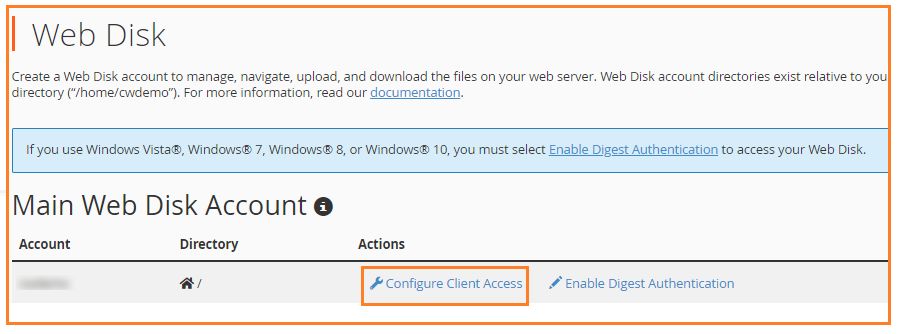
3) cPanel establishes a Web Disk account for you by default, using your home directory as the Web Disk destination. This account has full access to your home directory’s files and uses the same login credentials as your cPanel account.
4) You can gain access to your files by selecting Configure Client Access from the Actions menu.
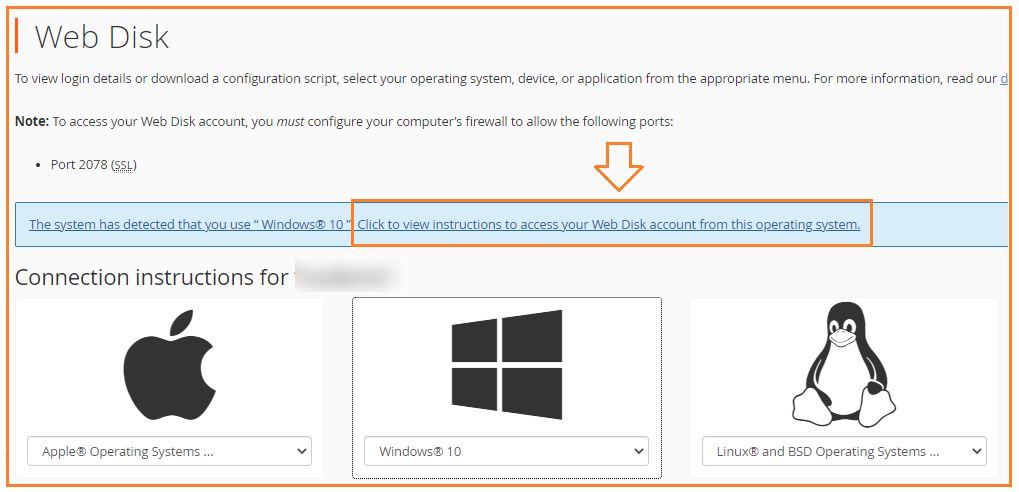
5) A webpage displays, with options for selecting the operating system for your computer or device. Your operating system will be detected automatically by the system. Click the warning, then Click to view instructions to access your Web Disk account from this operating system.
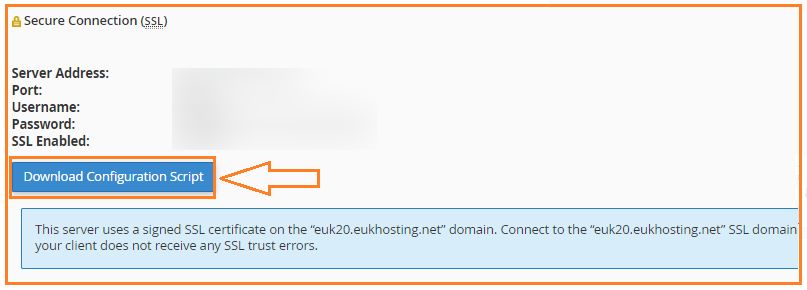
6) When you select it, a Download Configuration Script button appears. Simply click on the software to download it to your computer.
7) The files are saved in your computer’s Downloads folder. If desired, transfer it to a more right category or drag it to the desktop for quick access.
In this way you will understand how to manage your Web Disk using cPanel. For any help feel free to contact our Host.co.in support team anytime you wish.