

Setting up Nginx as a reverse proxy in Plesk involves several steps, and in this guide, we’ll walk you through the process.
A reverse proxy acts as an intermediary between internal applications and external clients. It directs client requests to the appropriate backend Linux VPS server, ensuring proper network traffic flow. Nginx, a free and open-source reverse proxy, also serves as an IMAP/POP3 proxy, enhancing performance by handling static content and forwarding dynamic content requests to the Apache server.
There are several advantages to implementing a reverse proxy:
Nginx is recommended for various reasons:
Setting up NGINX Reverse Proxy on Plesk Control Panel:
Step 1: Log in to the Plesk account as the root user.
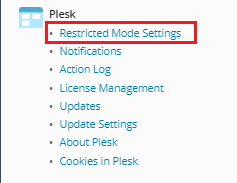
Step 2: Navigate to “Tools & Settings,” click on “Plesk,” and choose “Restricted Mode Settings.”
Step 3: In the webserver tab, scroll down to find the nginx configuration.
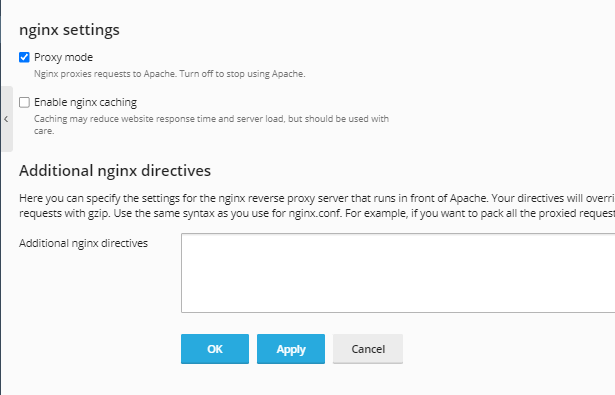
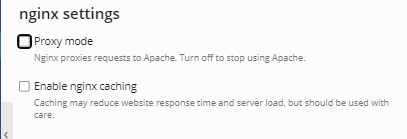
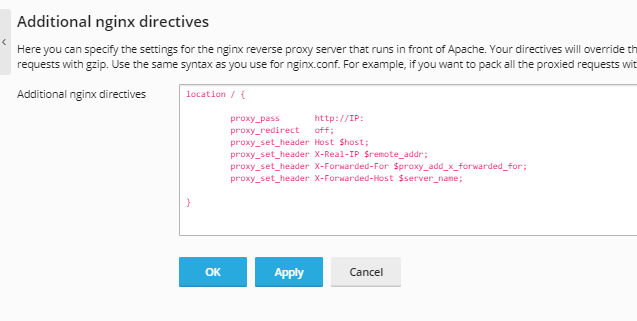
Step 4: Deselect “proxy mode” and add necessary information to “Additional Nginx Directives” before clicking “Apply.” Modify the Server IP in the first line and the server name in the final line.
location / {proxy_pass http://server_IP:3000;proxy_redirect off;proxy_set_header Host $host;proxy_set_header X-Real-IP $remote_addr;proxy_set_header X-Forwarded-For $proxy_add_x_forwarded_for;proxy_set_header X-Forwarded-Host $server_name;}
extended nginx directives
If you encounter any difficulties during this process, feel free to contact the host.co.in Team for 24×7 proactive support. We trust that this guide provides a clear understanding of setting up Nginx as a reverse proxy in Plesk.
Sarang Khedkar