


This knowledge base will describe how to view website statistics using the Plesk control panel. When you are doing it for the first time, to begin with you need to choose which statistics tool you need Plesk to use. Only once this has been completed can the website statistics be seen.
Step 1 – Setting up your website statistics tool
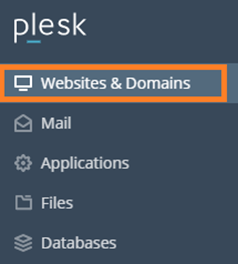
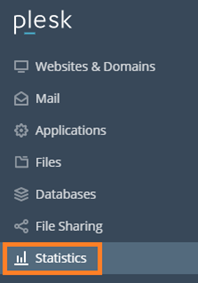
2. See the Websites and Domains in the left-hand panel and click on it.
3. When the Websites & Domains screen will open then click the Hosting Settings icon.

4. When the Hosting Settings screen will open then scroll down to the Web scripting & statistics section.
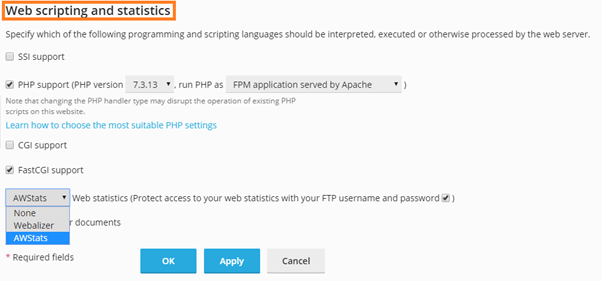
5. Go through the dropdown box at the bottom of this section. Then click on it and select one of the Webalizer or AWStats choices. Both of these tools can provide a scope of useful website statistics.
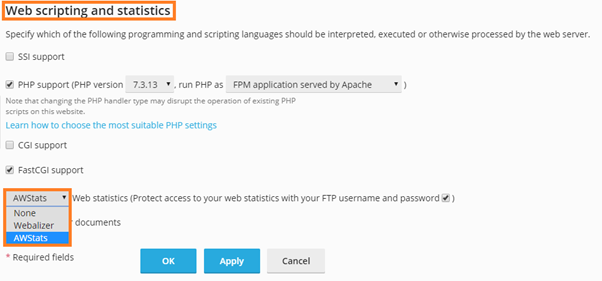
6. Lastly, click OK to save your preferences.
7. If you want to change your statistics tool, you can easily repeat this method and choose another choice from the dropdown box.
Step 2 – Viewing your website statistics
3. Next, click Web Statistics and click View for the domain whose statistics you want to see. The statistics will open in a new window.
Note: Webalizer and AWStats collect and display website data in several ways. For more information about useful options for you, visit the Webalizer and AWStats website.
Also Read: How to Upload & Download Files in cPanel File Manager
Sarang Khedkar