

This guide explains how to install, set up, and secure a production-ready self-hosted n8n instance on Ubuntu 24.04. It covers the complete process, including n8n installation, Nginx reverse proxy configuration, and SSL setup using Let’s Encrypt. By following this guide, you will enable secure HTTPS access and ensure reliable performance for production environments. This setup is ideal for users who require full control, security, and scalability for their automation workflows.
apt update && apt upgrade -ycurl -fsSL https://deb.nodesource.com/setup_22.x | sudo bash -
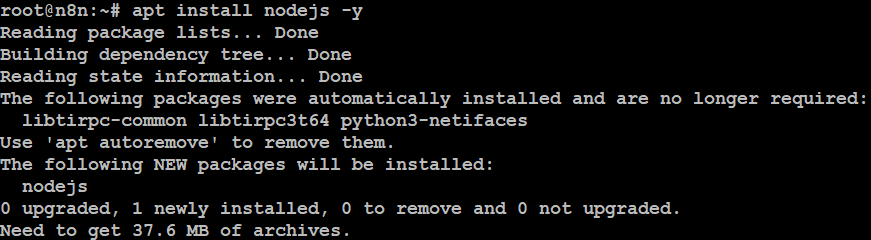
apt install nodejs -y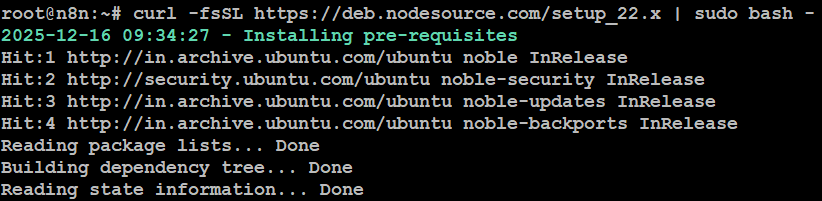
node -v
npm -v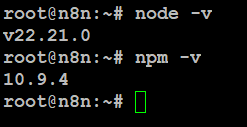
npm install -g n8n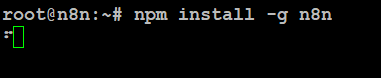
n8n --versionn8n startnpm install -g pm2Start n8n with PM2:
pm2 start n8n
pm2 save
pm2 startupapt install nginx -yVerify Nginx:
systemctl status nginxnano /etc/nginx/sites-available/n8nAdd the following configuration (replace n8n.yourdomain.com):
server {
    listen 80;
    server_name n8n.yourdomain.com;
    location / {
        proxy_pass http://localhost:5678;
        proxy_http_version 1.1;

        proxy_set_header Upgrade $http_upgrade;
        proxy_set_header Connection 'upgrade';
        proxy_set_header Host $host;
        proxy_cache_bypass $http_upgrade;

        proxy_set_header X-Real-IP $remote_addr;
        proxy_set_header X-Forwarded-For $proxy_add_x_forwarded_for;
        proxy_set_header X-Forwarded-Proto $scheme;
    }
}
Enable the configuration:
ln -s /etc/nginx/sites-available/n8n /etc/nginx/sites-enabled/Test and reload Nginx:
nginx -t
systemctl reload nginx
apt install certbot python3-certbot-nginx -ycertbot --nginx -d n8n.yourdomain.com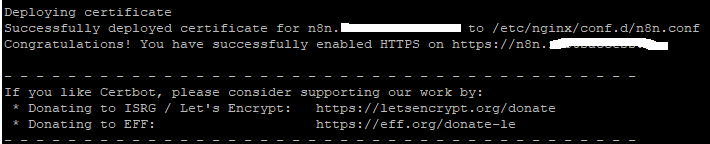
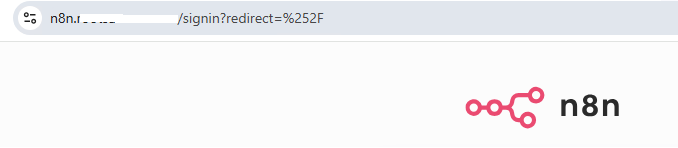
Nginx and Let’s Encrypt SSL have been successfully set up for your self-hosted n8n on Ubuntu 24.04. This ensures secure, encrypted communication over HTTPS. The configuration is suitable and recommended for production environments.

Tausif Shaikh