This guide will explain, how to install ImageMagick Extension for a PHP version using WHM. It’s a must-have extension that allows customers to edit and manipulate photos on a site.
Install ImageMagick on WHM by following the steps listed:
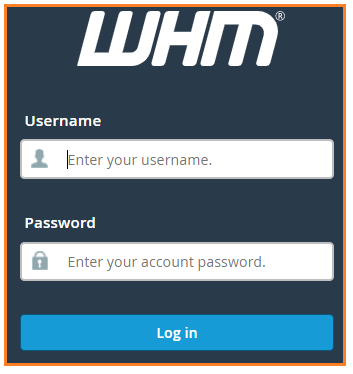
1. Log in to WHM utilizing your root credentials.
2. Go to the Software menu.
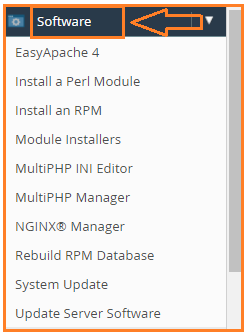
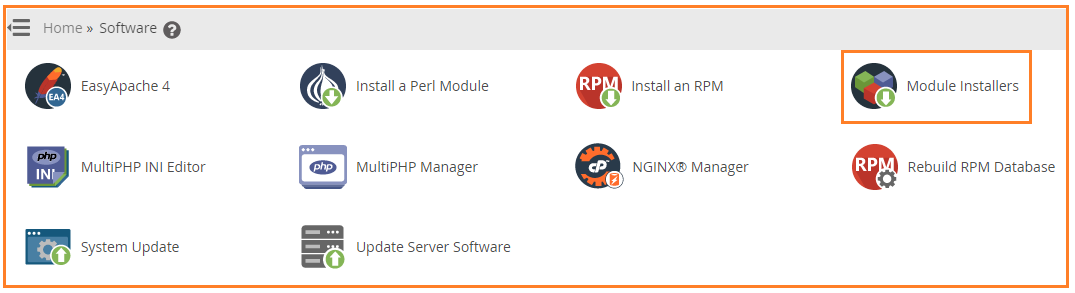
3. “Module Installers” should be chosen.
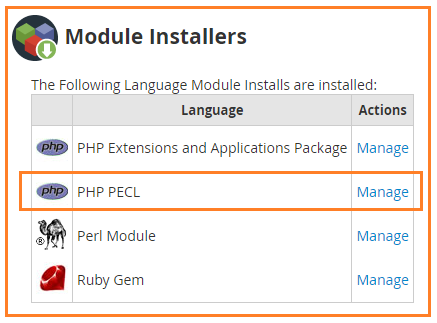
4. A list of installed Language Modules will emerge.
5. Next to PHP PECL, click “Manage”.
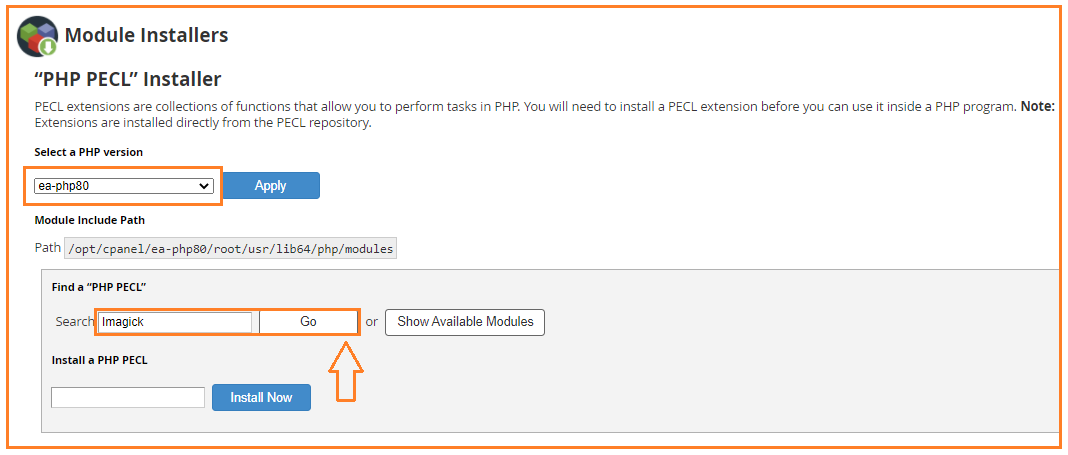
6. To receive an ImageMagick compatible extension, choose an appropriate PHP version from the dropdown list.
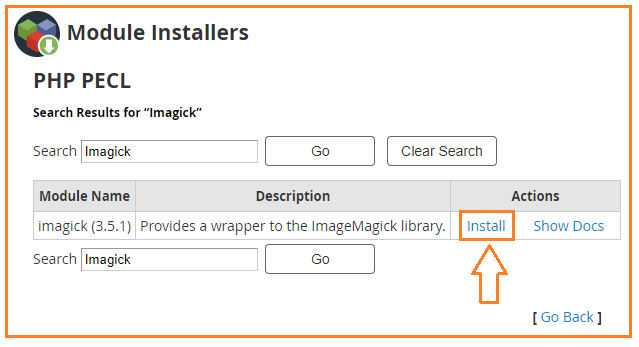
7. Click the “Go” button after entering “Imagick” into the Search window. In the Search Results, the module for the Imagick extension will emerge.
8. Click the “Install” button which is located beneath the Actions column.
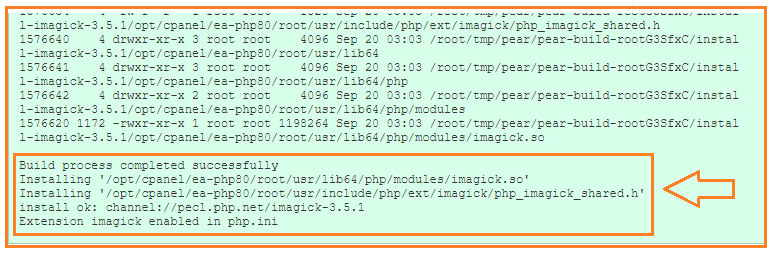
9. The installation process will begin straight away. The system will finish installing Imagick PHP PECL in a few seconds and present a success message at the end.
This will teach you how to use WHM to install ImageMagic Extension for a PHP version. Hope you have truly understood everything, but if you have any questions, please contact our support team at any moment. We are here for you 24 hours a day, 7 days a week.