

In this tutorial, we will walk you through the process to set up Nginx as a reverse proxy in Plesk, a powerful configuration to enhance performance, improve security, and efficiently balance server loads. By using Nginx as a reverse proxy, you can ensure that client requests are routed to the appropriate backend servers, providing better control and monitoring over your web traffic.
A reverse proxy acts as an intermediary between the client and the server. While a standard proxy server forwards client requests to various servers on the internet, a reverse proxy works in the opposite direction. It receives requests from clients and forwards them to the backend server.
In a typical reverse proxy setup, the reverse proxy server (such as Nginx) handles the incoming requests, processes them, and forwards them to an appropriate backend server. The backend server then generates a response, which is sent back through the reverse proxy to the client. This setup can help with:
There are several reasons to consider using Nginx as a reverse proxy in Plesk:
Follow these steps to set up Nginx as a reverse proxy in Plesk:
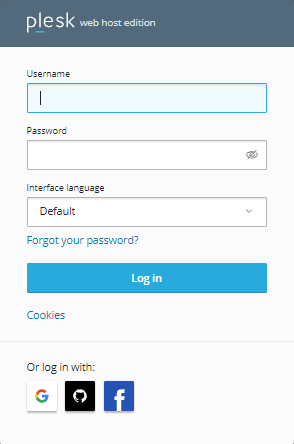
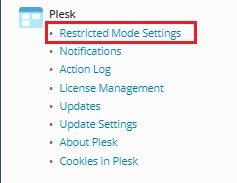
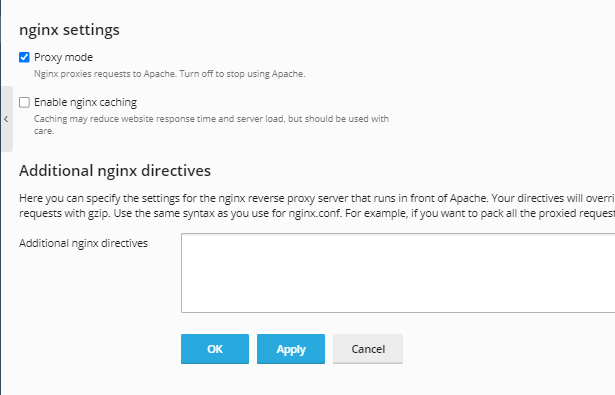
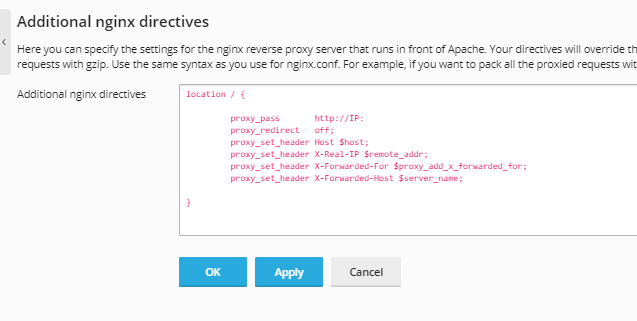
location / {

proxy_pass http://server_IP:3000;

proxy_redirect off;

proxy_set_header Host $host;

proxy_set_header X-Real-IP $remote_addr;

proxy_set_header X-Forwarded-For $proxy_add_x_forwarded_for;

proxy_set_header X-Forwarded-Host $server_name;

}
server_IP with your actual server IP address.Once the Nginx reverse proxy is set up, you may want to add additional directives for specific configurations. These include directives to handle caching, security, and load balancing more effectively.
Caching Configuration:
You can use Nginx to cache static content, reducing the load on your backend server.
location / {
proxy_pass http://server_IP:3000;
proxy_cache my_cache;
proxy_cache_valid 200 1h;
}
Security Enhancements:
Configure headers to improve the security of your server and prevent certain types of attacks.
location / {
proxy_pass http://server_IP:3000;
add_header X-Content-Type-Options nosniff;
add_header X-XSS-Protection "1; mode=block";
}
Load Balancing:
If you have multiple backend servers, you can configure Nginx to distribute traffic across them.
upstream backend {
server backend1_IP;
server backend2_IP;
}

location / {
proxy_pass http://backend;
}
By following the steps outlined above, you have successfully learned how to set up Nginx as a reverse proxy in Plesk. This setup enhances the security, performance, and scalability of your web applications. Whether you need to distribute traffic across multiple servers or secure your internal resources, Nginx is a powerful tool for improving the efficiency and security of your infrastructure.
If you encounter any difficulties during the setup process, feel free to reach out to your hosting provider or contact our support team for further assistance.
For web hosting deals visit: host.co.in

Sarang Khedkar