Looking to install an SSL certificate in WHM? We have got you covered. You can easily install your certificate once you get it in your email.
Follow the steps given below:
Step 1. Log into WHM.
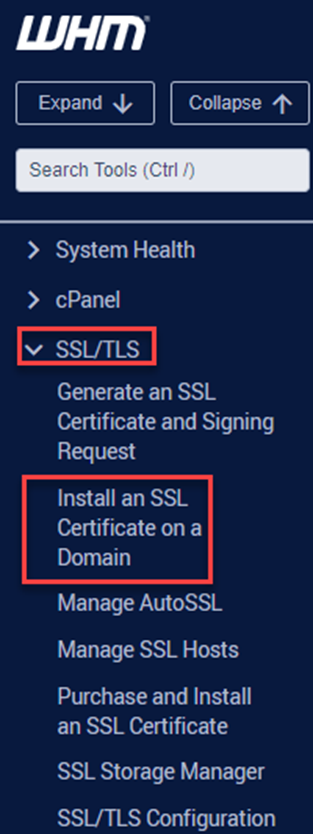
Step 2. On the left-hand side of the screen, you can choose from the “SSL/TLS” category.
Step 3. Select “Install an SSL certificate on a Domain”.
Step 4. Fill out all the information on the new page that opens on your screen.
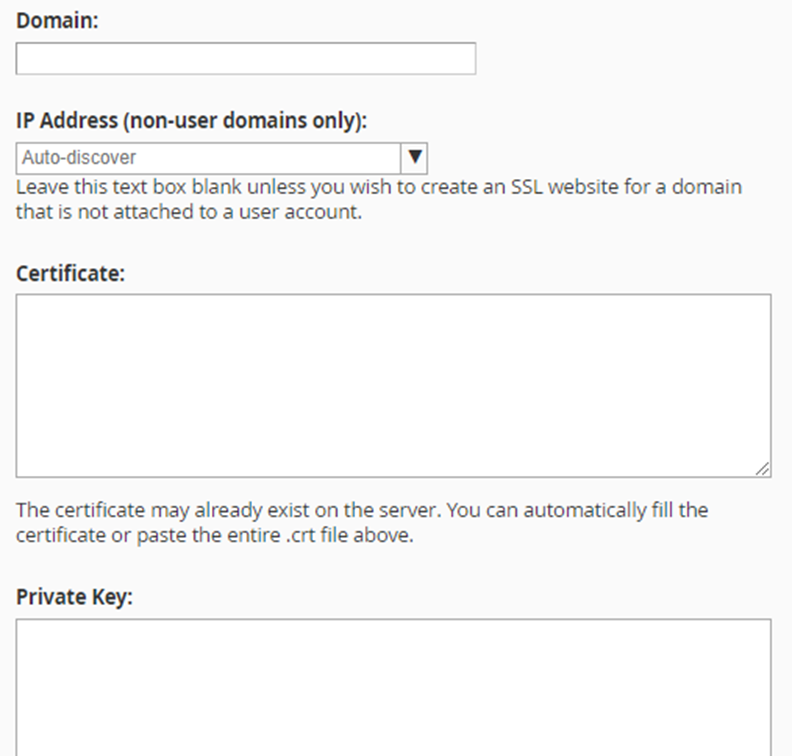
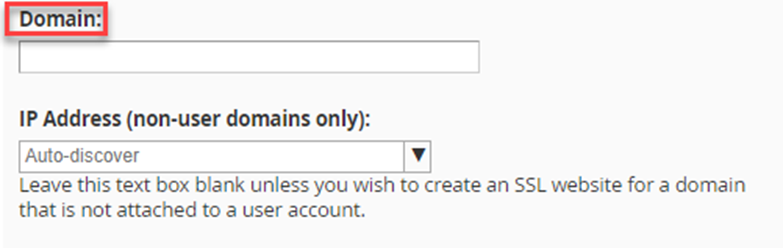
Step 5. The domain name that you intend to install your SSL certificate on, should be entered here.
Step 6. Put the certificate you have received in the mail in the “Certificate” field. Remember to unzip the certificates that are in zip format. Use any text editor of your choice to open this file, then copy its content and paste it into the space as shown below.
Step 7. In “Private Key”, put in the private key made with the CSR utilized to activate your certificate. The text is owned by you as it is decoded already. Using the WHM account to create the CSR will help with automating this process.
Step 8. Put the CA certificates in the “Certificate Authority Bundle” which you will have received with the certificate.
Step 9. .zip files are the format that Comodo will send CA certificates in. If the extension *.ca-bundle is part of your zip, put it in the Certificate Authority Bundle box. Various formats can be used to send it again. There are several kinds of SSL certificates that need distinct CA certificates. All the CA certificates are in perfect order in the Certificate Authority Bundle.
Step 10. Select the “Install” option.
Step 11. You will be notified when the installation is complete.
Now wasn’t this simple? Hope this helps you achieve your goals.