


In this tutorial, we’ll learn how to create a Email account through the Plesk control panel.
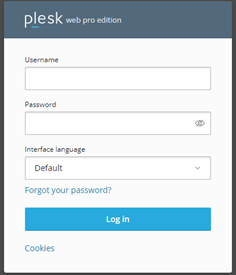
Step 1. First, log in to your Plesk control panel with your login credentials.
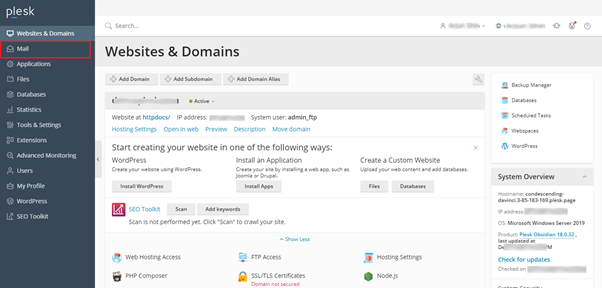
Step 2. On the left sidebar of the dashboard, click on the Mail option.
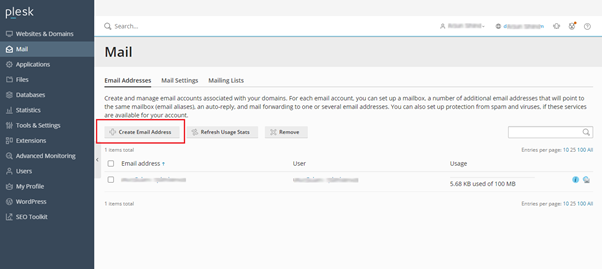
Step 3. After that, click on the Create Email Address.
Step 4. In the Email address field, type the username of the new mail account.
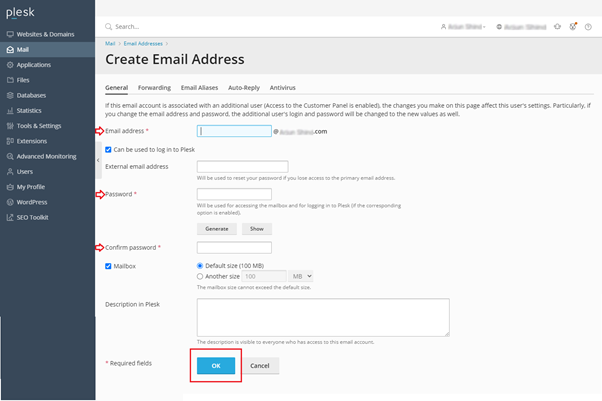
[Note: Keep this checkbox selected, if you want the mailbox owner to be able to log in to the Plesk control panel and change any of the email account settings.]
Step 5. Enter the alternate email address, in the External email address field to reset your password if you lose access to the primary email address.
Step 6. In the Password field, type the Password.
[Note: The password should be alphanumeric i.e. combination of upper and lower-case letters, numbers, and special characters for security.]
Step 7. Again, enter the same password in the Confirm password field.
Step 8. Through checked Mailbox, you can specify the size of this email address. The default size is selected. But if you want to change it then go with the Another size option and manually enter the email address size. Just make sure that it should not be exceeded by the default size.
Step 9. The Description field is optional. In that, you can add some notes or important points related to that email account otherwise you can leave it blank.
Step 10. After that, click on OK.
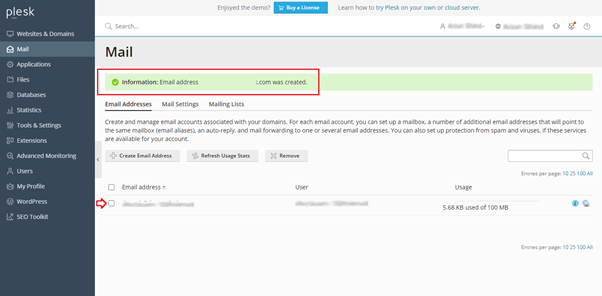
It may take 2-3 minutes to complete this process and once it gets finished you’ll get a success message.
Still, if you face any difficulty while creating an email account within the Plesk control panel, please feel to contact our 24×7 team through live chat or ticket.
Also Read: How to View Website Statistics in Plesk Control Panel
Sarang Khedkar