In this tutorial, you will learn about what AutoSSL is and how do you turn on AutoSSL?
What is AutoSSL?
Inside a customer’s Web host account, AutoSSL is an account-wide setting that can be toggled on and off. A regular server replaces self-signed certificates and expired (or soon-to-expire) certificates with new Let’s Encrypt certificates when AutoSSL is allowed. Fresh accounts go through the same mechanism right away. AutoSSL is toggled to ‘on’ in the Hosting SSL Certificates page for existing accounts when WordPress is installed, or Free SSL Certificate is toggled to ‘on’ in the Security section of the control panel for new accounts when WordPress is installed.
Question: How do you turn on AutoSSL?
Answer: To activate AutoSSL, first make sure you have an AutoSSL provider, then follow the steps below.
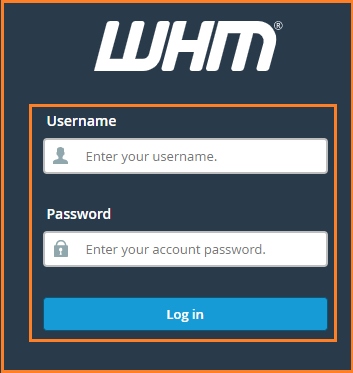
- Log into WHM
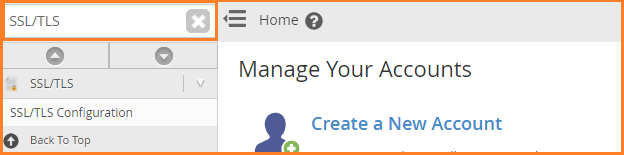
2. Now look for SSL/TLS (Secure Socket Layer/Transport Layer Security)
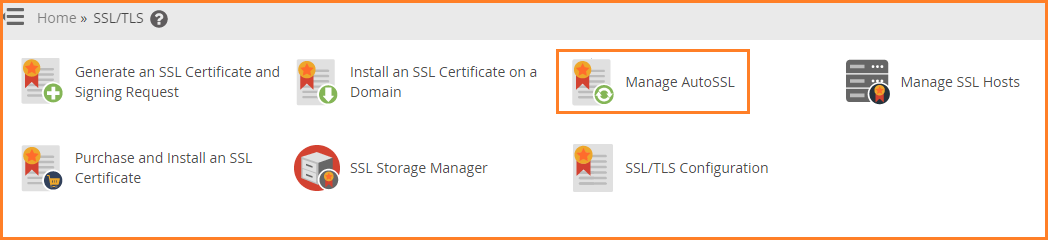
3. Click the “Manage AutoSSL” tab in the section.
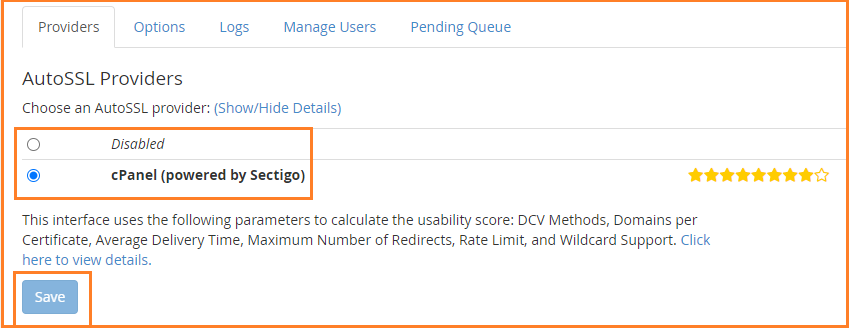
4. Now, “allow it” and “save” it
If you have any questions or need assistance with this tutorial, please contact us via live chat or email.